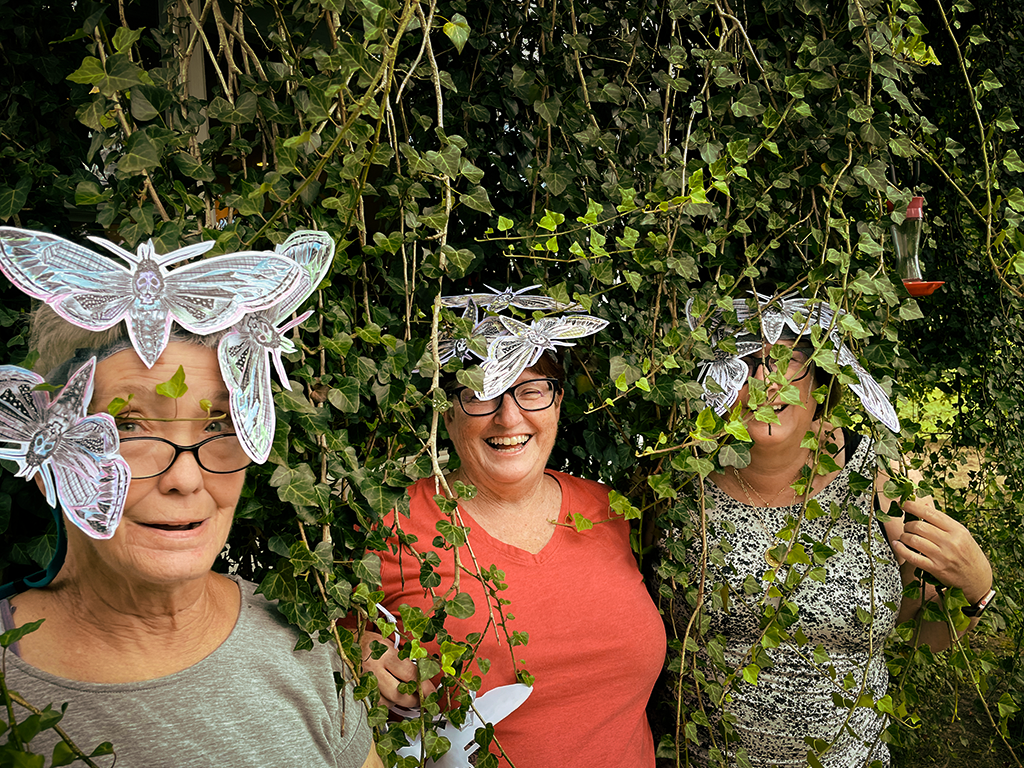
Death’s-Head Hawkmoth Mask
What you’ll need:
Print it myself version:
Save time by printing to 8.5 x 11” (or A4) cardstock*.
Ink for your printer
Glue
Scissors
*If you print to computer paper you’ll want to ply it to 1 sheet of poster board to add durability to your costume.
Deliver to me version:
Glue
Questions about materials? Check out our crafting supplies guide.
Follow along with an instructional video.
You can read through the step by step instructions are below.
If you need extra help, click on the step title to load the video from that step.
Instructions
For help with icons we use in these instructions, check out our crafting tips guide.
Step 1
Printed on computer paper? It’s time to ply. Follow our plying instructions and pick up at step 2 once you’re done.
Printed on cardstock? Cut out all the pieces before moving to step 2.
Got a deliver to me costume? Gently separate out each piece and you’ll be ready for step 2.
Step 2
Take a moth, and fold the tab over along the fold line, and glue it to the backside of the moth.
Step 3
Repeat this for the other two moths. Set them aside when you’re done.
Step 4
Get the band with all the tabs. Fold back the glue tabs away from the printed side. There are 11 tabs to fold in total.
Step 5
Flip the piece over. To make sure you’ve gotten all the tabs your piece should look like this. Now glue all the tabs to secure them.
Step 6
Flip the piece back over so the printed side is up and the shortest tabs are closest to you and the longest are away.
Step 7
We’re going to start with the arms closest to you first.
Step 8
Take the left arm, crease the two folds then fold it toward the art to make a little triangle where the glue tabs match.
Step 9
Add a little bit of glue where the glue marks line up. To hold it while the glue dries, you can use a thin pen inside the triangle.
Step 10
Repeat this for the bottom right arm by creasing the two folds and fold it toward the art, and connecting it to the exposed glue tab from the first triangle. Add a drop of glue where they meet.
Step 12
Fold the middle right arm by creasing two folds, folding it ward the art, and glue it to the mark in the middle of the band.
Step 13
Repeat this for the middle left arm by creasing the two folds, folding it toward the art, and connecting it to the exposed glue tab from the previous step.
Step 15
Turn the piece over. Find the long arm on the right, fold the glue tab toward you to make a triangle, then glue the end tabs to secure. Turn the piece back over when you’re done.
Step 16
Take both remaining arms, and fold them toward the art. Each arm has a glue tab at the end that folds, so you’ll fold them both toward each other, then secure them with glue.
Step 17
This will create a long, narrow triangle, and the triangle from the last step should be facing upward. You’ve just finished the moth base!
Step 18
Find all the thin pieces, these will make the headband. Order them in a line where the colors meet.
Step 19
Glue down the band on the right and left side of the moth base.
Step 20
Find the two pieces to make the buckle. Match the pieces to make a small diamond slot, and glue to secure.
Step 21
On the yellow band to the left, glue on the buckle and make sure the diamond is visible right where the yellow band stops.
Step 22
On the other end of the band, glue on the remaining bands starting with the free tabs.
Step 23
Take the moths and line them up to their corresponding glue tabs on the moth base. Notice how each moth’s tab matches one on the base.
Step 24
Start with the smallest tab and moth, which will be in the middle. Glue on the moth to it’s matching tab so the moth faces upward.
Step 25
Next, glue on the moth with the largest tab. The bottoms of both moths should point toward each other.
Step 26
Glue on the remaining moth so that all the bottoms of each moth point to the center and the wings form a triangle.
Step 27
To fit, create a loop with the band and feed it through the diamond slot from the inside, so that the free end hangs outside the band.
Let’s get the mask fitting snug!
Step 28
Put the band on such that the moths rest in the center of the forehead. Tighten the band until it is snug without being too tight.
Step 29
Fold the band over where it passes through the slot to make a crease, then take the headband off.
Step 30
Adjust the band so the fold you made lines up with the slot. Trim off any excess of the band that is beyond the buckle.
Step 31
This time pass the band through the slot from the printed side
Step 32
Line the fold up with the diamond slot, and glue the remainder to the back side of the buckle.
From the printed side, add glue to the glue area just below the slot.
Step 34
Fold it Fold the part of the buckle below the headband upward.
Step 35
Add glue to the non-printed side that was just folded.
Step 36
Fold the remaining tab over to have the printed side facing outward.
Step 37
On the inside of the band, add glue on the inside of the remaining tab.
Step 39
Once the glue has dried, your moth mask will be complete.


